Poured ink has been foundational to my creative process for many years; I use it to generate random forms that serve as the first step in painting. However, despite its advantages, working with ink is also tricky—I have no way of predicting when it will turn out just right and guide the next steps. I still wrestle with this part of my process.
How did my artwork become so contingent on chance?
The answer might lie somewhere in my college years. I remember sketching out a ceramic sculpture and then constructing it exactly as planned. I recognized the tediousness of this approach, but I didn’t know how to break out of it until I learned about methods and materials that involved a degree of uncertainty: volcanic ash glazes, raku, gas reduction firing, double-walled vessels, and others.
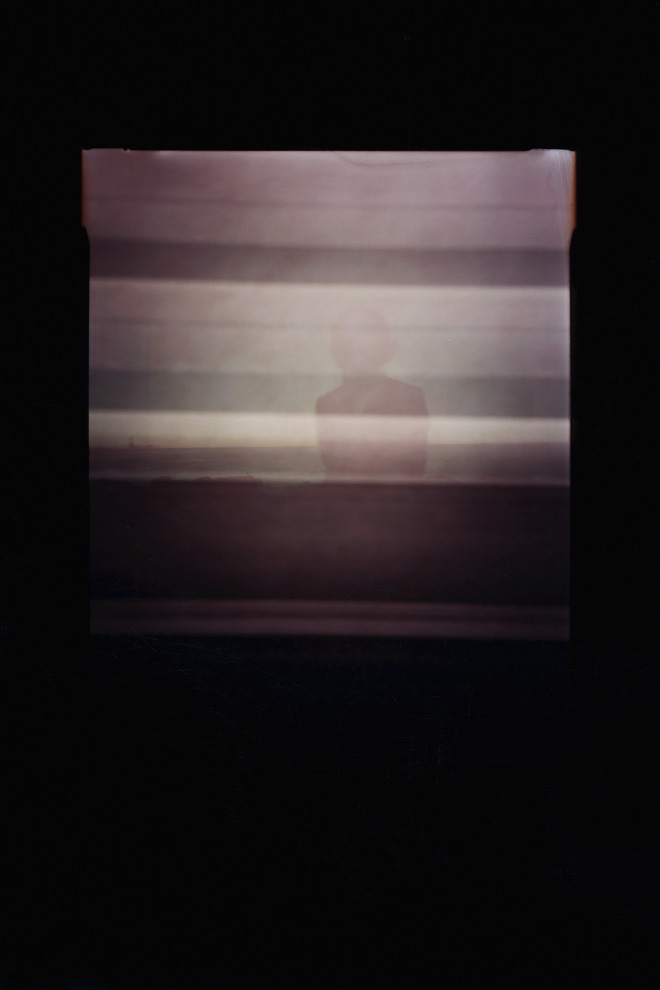
In photography, pinhole cameras provided a similar degree of uncertainty. Without a viewfinder, a mechanical shutter, or even a lens, the ensuing chaos kept the process exciting. My meticulous approach to art craved the challenge of confronting something unpredictable and making it work.

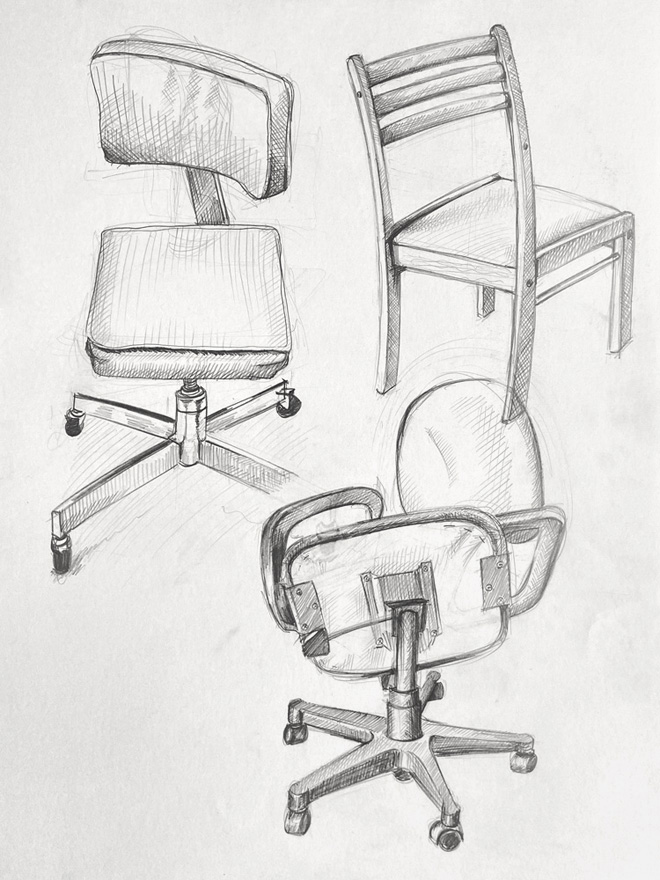
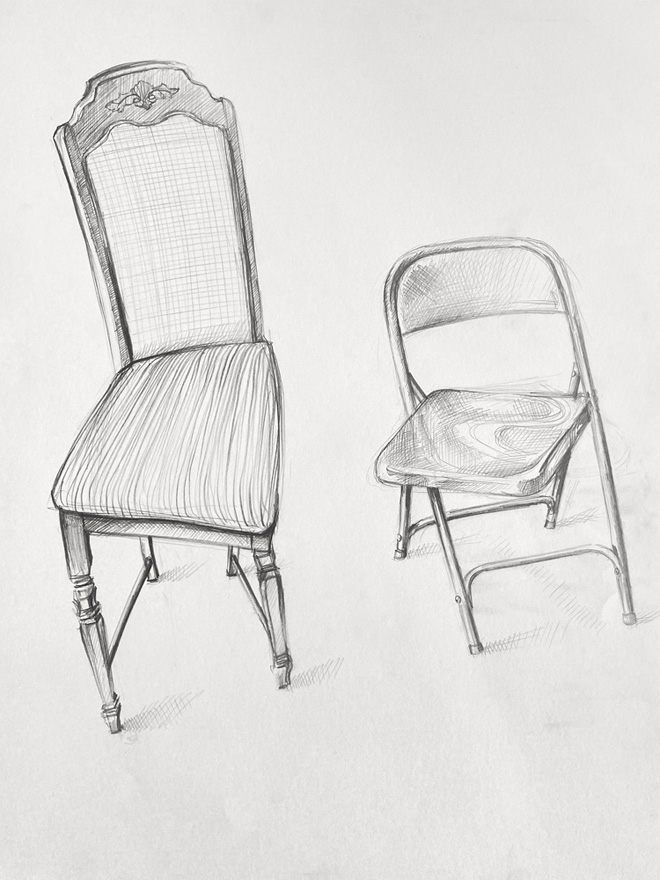
In drawing and painting, however, chance was entirely missing from my practice. Although I enjoyed drawing “realistically,” i.e. creating representational drawings, I was also bored by the results. If anyone were to put a chair in front of me and say “Here, draw this,” I would happily do so with patience and care. However, I didn’t want my drawings to serve as empty documentation—I wanted them to surprise me.
Around 2002, while registering at SAIC, I noticed a class titled Form Invention taught by Barbara Rossi. The course was designed to expand creative ideas in drawing and painting. I signed up, and it transformed my artwork. Rossi showed us surrealist techniques like grattage, frottage, decalcomania, inkblots, pareidolia, and many others. She had albums full of visual interpretations of ice cream cones, and another album of things that resembled ray guns, showing us how to collect reference images and notice what, in a drawing, comes from stylistic choice vs. observation. She had us doodle and then cut up the doodles and collage them into a face or a landscape composition; she asked us to combine different views of the same object; we found connections between superimposed images, faces in driftwood and found objects…
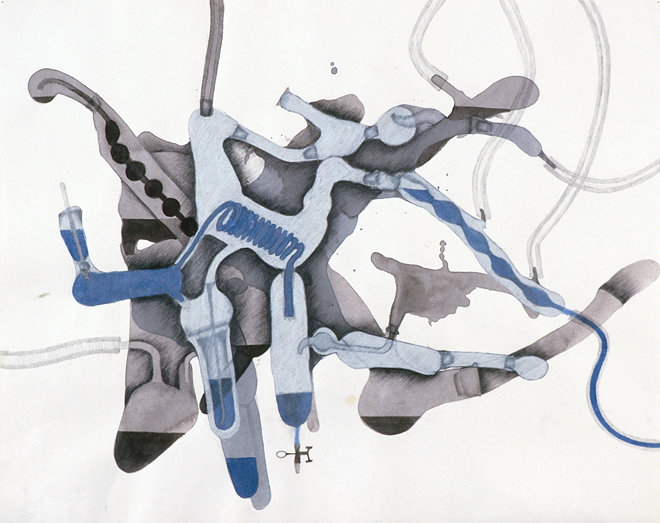
This is where I made my first inkblot that functioned like a Rorschach test. When Rossi saw my pen drawing on top of the dried ink—a drawing that I considered unsuccessful—she told me to ditch the pens and try graphite pencils instead. The switch made me see the ink differently. My drawings began to resemble laboratory glassware, which later morphed into body parts and organs. I was set on a path to develop my artwork.
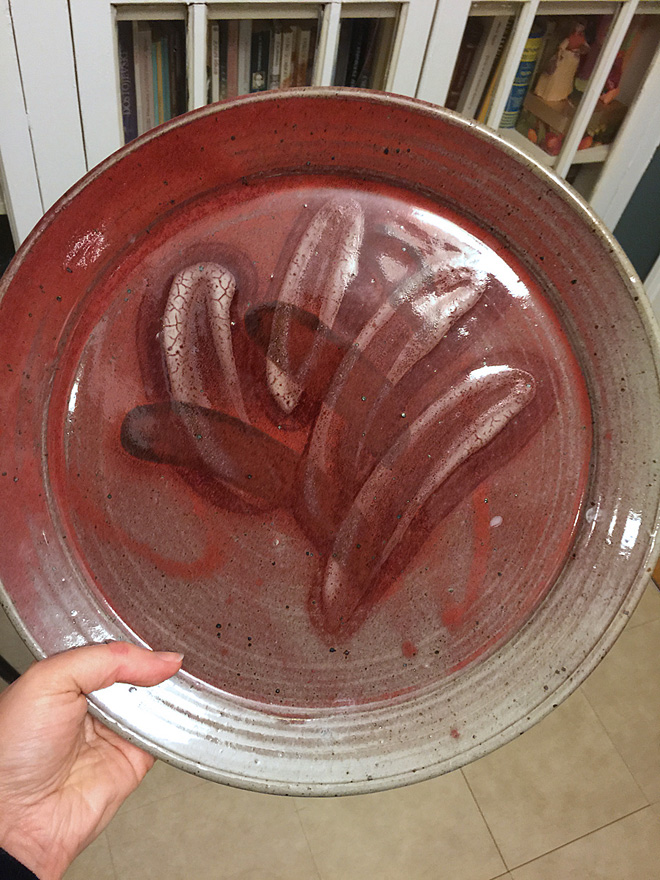
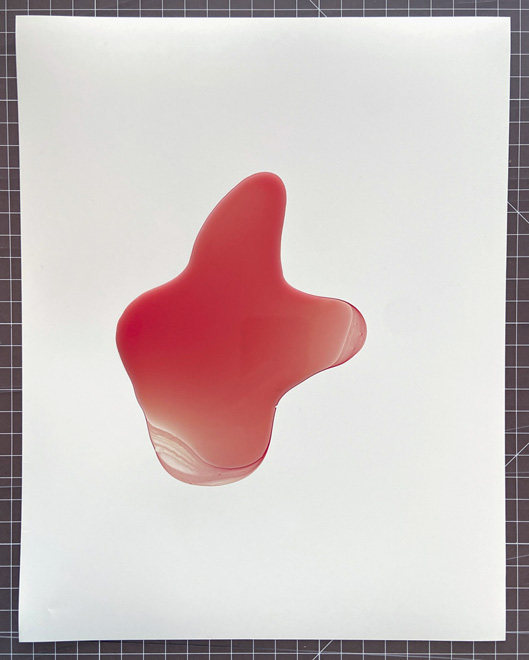
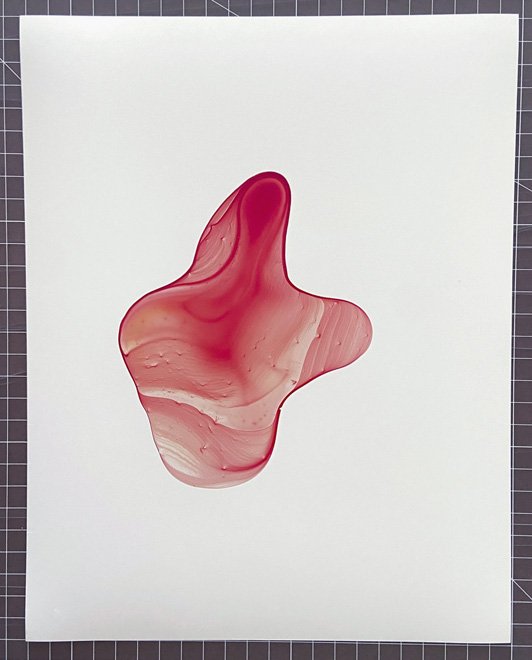
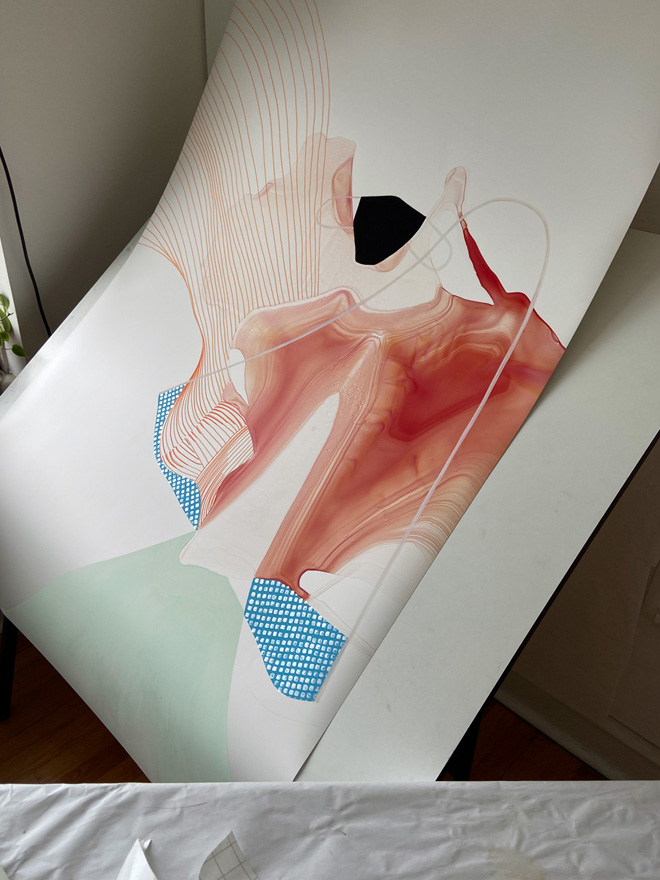
The class is still with me, even though my work has shifted many times over in the past twenty or so years. I continue to pour ink without knowing what the outcome will be. Those who have observed the pouring are usually surprised by how little control I have over this initial step; much of it is truly random. I do make a few choices before I begin: how high to hold the cup while pouring, which colors to combine and in what ratio, the type of container, the volume, the substrate… When I’m done, the ink looks like one solid color, like fruit juice, until it dries. On Yupo (a brand of “paper” that is actually plastic) the puddle typically takes a couple of days to evaporate, leaving pigment behind. If the puddle slips off of an edge, the surface ends up blank and then I have to start over.
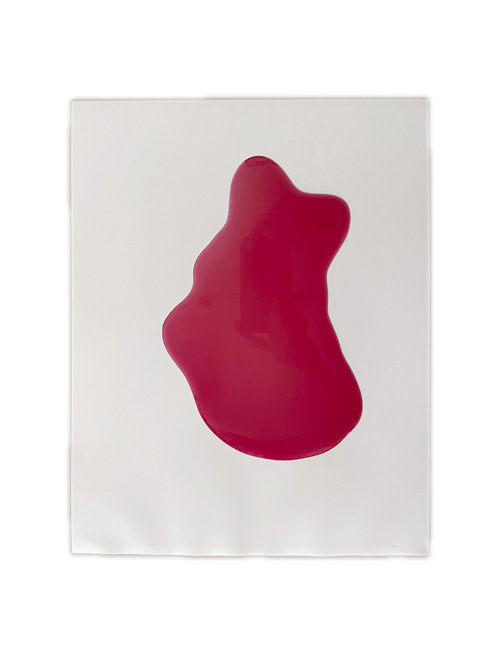
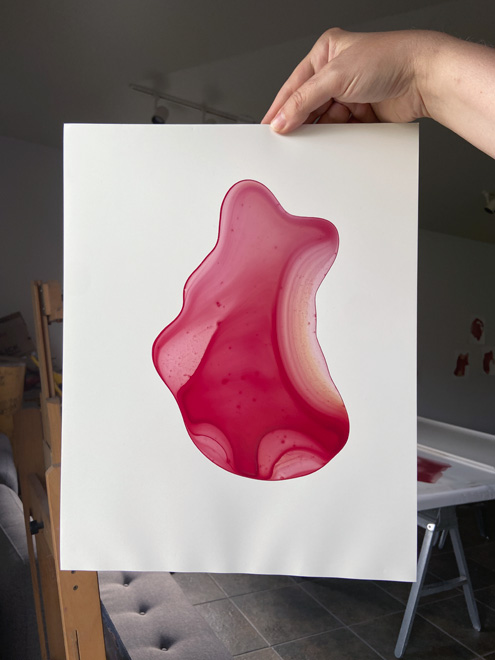
What is most astonishing—the texture and pattern in dried ink—has little to do with any of my choices. Poured ink is unpredictable; it teaches me to accept what I have no control over; it compels me to pay close attention with sensitivity and openness.
Along the way, many people have encouraged this kind of exploration. I have already mentioned Barbara Rossi. Around the same time, I emailed my photography professor Robert Clarke-Davis (a.k.a Clarke), telling him that I wanted to take a picture of something that’s “been done” many times before.
He replied: “I feel that even if something has been done, it hasn’t been done by you—and the whole idea is firsthand experience, not a passive one.”
Similarly, when I told Ann Hamilton at OSU that I was waiting for inspiration, she said “Waiting is an active thing.”
These bits of advice focused on being proactive; they taught me to work continuously without pre-judging and to notice what happens accidentally along the way.
Back then I didn’t fully grasp how important and influential those exchanges were—how much they shaped my path as an artist. Now I realize that conversations, not individuals, drive culture. In art school, this sometimes took the form of a critique with classmates. I remember enjoying class critiques, but I probably underestimated their value. These days, I actively seek out conversations by exhibiting my work and swapping studio visits. In several previous journal entries, I have mentioned turning points in my artwork that originated from conversations with people. I’ll summarize a few of these encounters.
My current body of work, which I call Carnival, got its start during a texting conversation in 2021 with composer/musician Dan Jacob Wallace. When I asked what he saw in an image of my latest piece, he replied “A clown who died of geometric diarrhea.” His comment sent me down a rabbit hole in search of connections between bodies, grotesques, and circus aesthetics. This is how I first learned about Rabelais, and how I began working on the Carnival series.
A year later, after feeling stuck for some time at a residency, I invited an experienced colleague, Jo Yarrington, to my studio. Her advice was simple and easy to implement: she suggested that I switch materials and begin working exclusively on non-absorbent sheets of Yupo instead of jumping back and forth to Bristol or watercolor paper. The advice magically invigorated my work and led to a number of successful pieces in the following couple of weeks.
I’ll mention one more conversation that I’m still contemplating today. In 2023, during an open studios event at another residency, I told visitor Henry Kunkel that I’ve had some frustration in the studio; I often finish my best work in less than a single day, while other artwork takes weeks of pondering, researching, and planning—sometimes only to ditch it in the end anyway. What’s worse: I cannot find a reason or logic why any of this happens. He replied that it makes sense because I am (in his words) “negotiating chance.”
